
Tents
Riding Mountain National Park
Choosing the right tent
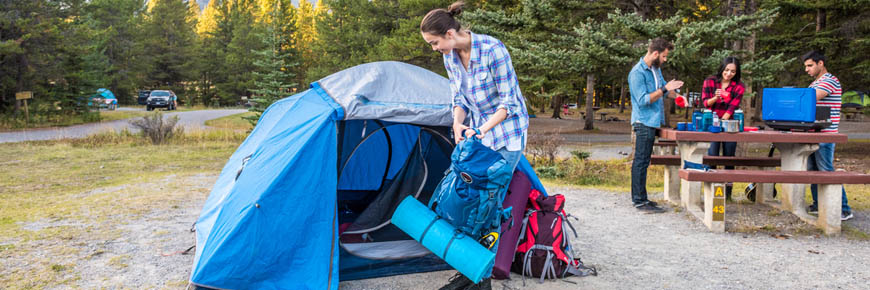
Tents come in all shapes and sizes, and in all price ranges. Talk to friends and family members who camp about their experiences. Go to a camping equipment store and look at their tents. Consult with store staff about what would best suit your situation.
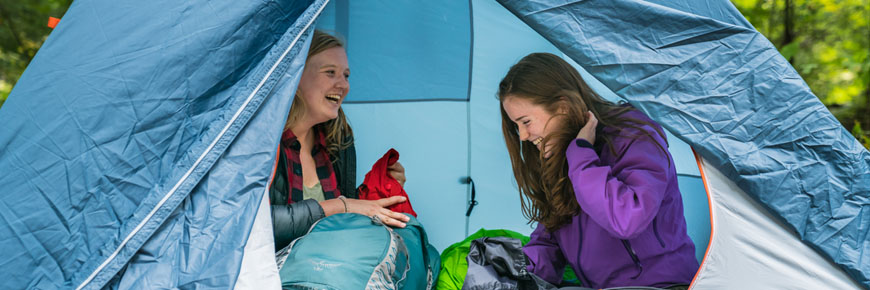
Many factors affect the price of a tent, such as capacity, weight, and durability. Before you make a decision, think about how many people you’ll usually go camping with, if you want to drive to a campsite or hike in, or if you’re camping with kids. Little children and adults alike like being able to stand up inside a tent!
Before you leave home
Before you go, practice setting up your tent in the back yard – or even in your living room. Not only will you learn how to put up your tent with all the correct pieces, you’ll also create anticipation for the upcoming trip!
Learn to set up a tent
These steps should help you in setting up your tent. Not all tents are the same but the process is similar in all cases.
1. Choose your spot
Many Parks Canada campsites have a tent pad which will pre-determine where your tent will go. If not, choose an area that is free of roots, rocks and branches. You’ll have a better night’s sleep if your spot is level and free of sticks and stones. Make sure that the area is far enough away from your fire pit that there is no risk of embers landing on your tent.
Optional - Put down a groundsheet. A groundsheet helps protect your tent and keep you dry.
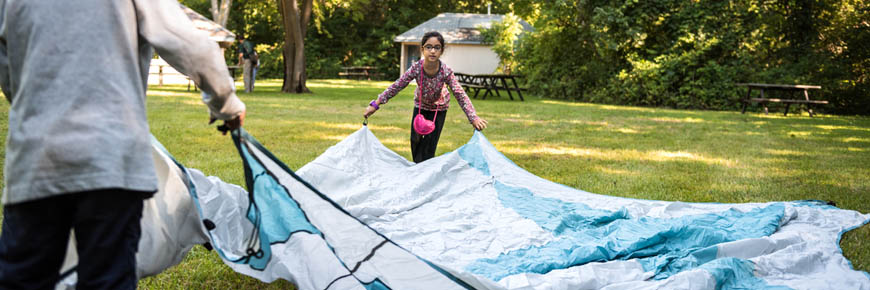
2. Roll out your tent.
Keep in mind where you want your door!
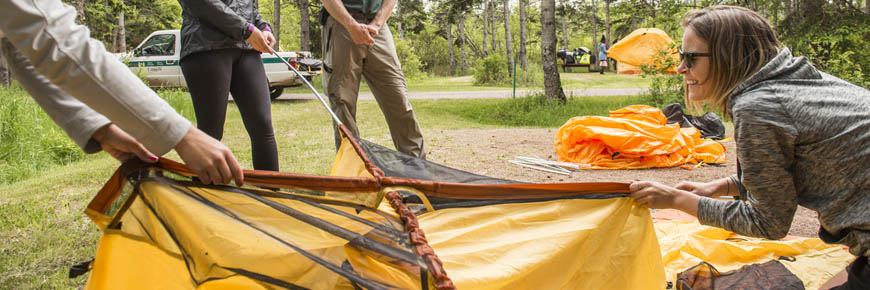
3. Connect your poles
Depending on your tent design, poles slide into sleeves or fasten to clips. If your tent has both sleeves and clips, start with the sleeves. Slide or clip on the two poles that cross at (or near) the top of your tent. If your tent has more than two poles, slide or clip them all in before you begin the next step.
4. Raise your tent
This is the fun part! Start with the two poles that cross at the top. Secure the end of one pole into the special grommet, fabric pocket, or loop at the base of your tent, often at the corner. Bend the flexible pole into an arc and secure the other end – it’s sometimes easier to do this with a partner!

5. Peg the tent to the ground
Most tents have nylon straps with loops or grommets through which you can place a tent peg. Pull the strap away from the tent so the floor is taut. Push the peg into the ground at a 45-degree angle to keep it secure – even on a windy day!
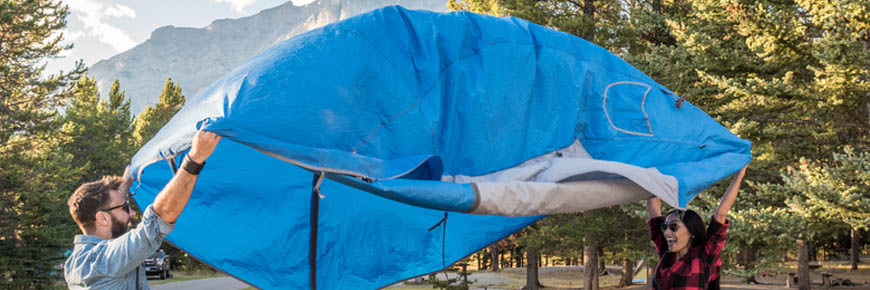
6. Put a fly over the tent
Toss the fly over the tent, keeping your tent door’s location in mind. Depending on the design of your tent, you may need extra pegs, poles or guy lines.
Parks Canada staff tips
Have fun putting up your tent at home – not only will kids love a special sleep-over inside a tent in their living room or backyard, you’ll discover if you have all the pieces you need!
Tent glossary
| Tent glossary | Definition |
|---|---|
| Tent pad | A predetermined area of grass, soil or sand on a campsite where you set up your tent. Your tent pad should be flat and free of debris. |
| Tent body | The main part of the tent, including the walls and floors. Usually made of nylon or polyester. May have mesh for ventilation. |
| Fly | A sheet of waterproof material that fits over the tent body to protect against wind, rain, and sun. |
| Groundsheet | A piece of fabric that goes underneath your tent. A barrier between the tent floor and the ground. Protects your tent over time. Sometimes called a “footprint”. |
| Guy lines | Lengths of cord or rope used to help secure your tent, especially in bad weather. Guy lines are fastened to the fly and then staked into the ground with a tent peg. Guy lines keep the fly taunt and away from the tent walls, which helps ventilation, especially in humid weather. |
| Grommet | A metal ring that reinforces a hole in a piece of fabric. |
| Tent sleeves | Pieces of fabric attached to the tent body or fly into which tent poles go. |
| Tent clips | Devices attached to the tent body and fly that secure the tent poles. |
Learn to set up a tent
Transcript
Hello! Bonjour! This is a step by step look at what to expect when you set up your tent
Please note that although your tent may differ from the one shown here most tents follow the same basic steps
The first step to setting up your tent is finding a suitable area.
You‘ll want to choose an area that is flat and free of debris such as roots, rocks and branches.
Next, unpack your tent bag and place the contents nearby.
Bofore you leave for your trip double check to make sure you have all of the necessary parts
Place the tent body directly on the ground or on a groundsheet or footprint if you have one.
Make sure to line up the door in the direction you want it to face.
The next step is to assemble the poles.
Carefully insert each pole section into the next. Repeat for each pole you have.
Now take the first pole and insert it into the sleeve and slide it all of the way through.
Attach the end of the poles to the actual tent body.
This tent attaches using a metal pin and ring but this may be done differently depending on the type of tent.
Put the next pole through the other sleeve. Raise the tent by pulling the poll towards the bottom of the tent.
Once the bottom of the pole reaches the bottom of the tent,
attach the poles to the tent body in the same way as you did on the other side.
Now walk around and fasten all of the clips to the poles.
Some tent models do not have sleeves, instead consisting of clips all the way around.
Now that your tent is up you will want to secure it to the ground.
Make any last adjustments to the placement of the tent before you begin.
Now push each peg into the ground at a 45 degree angle.
Do this until all of the straps are pegged down and your tent is secure.
Now you will want to attach the fly to your tent.
Begin by gently tossing the fly over the tent like it was a blanket.
Make sure that the front of the fly lines up with the entrance of the tent.
Most flies will attach to the poles of the tent body or to the bottom of the tent where the poles are attached.
The tent fly is waterproof and will keep you dry in case of bad weather.
Some tent flies will require poles to be attached to the fly.
This will depend on the size of the tent fly and model of the tent.
Once the fly is secured to the tent, take the ends with slack and peg them to the ground.
Now you can begin bringing in your bedding and setting up your home away from home.
Remember: by keeping the zippers closed on the tent door you'll keep the bugs outside.
By removing your footwear before you get in the tent you’ll keep most of the dirt outside and not inside the tent.
You are now ready for a good night’s sleep favourite in your new favourite campground! Sweet dreams!
Some of this content is also available in the following languages:
Parks Canada staff tips
Closing the tent door zippers helps keep out bugs and insects. Remember to take off your shoes before entering the tent to keep it clean.
Related links
- Date modified :